For years, I relied on Cmder as my terminal emulator of choise. With the release of Microsoft’s modern terminal, it’s time to transition away from Cmder. In this article, I’ll outline my approach to customizing my CLI for improved productivity:
Prerequisites Link to heading
I recommend installing as much as you can using Microsoft Store so that auto updates are enabled. You can also use package managers such as winget or choclatey.
- Oh My Posh is a theme engine that will be used to make it look good
winget install XP8K0HKJFRXGCKor via the Microsoft Store
- Windows Terminal is my new terminal emulator of choice
winget install 9N0DX20HK701or via the Microsoft Store
- PowerShell the rebuilt, cross-platform version of Powershell
- Winget:
winget install 9MZ1SNWT0N5Dor via the Microsoft Store
- Winget:
Installation Link to heading
-
Download and install the Caskaydia Code Nerd Font. Set the font as your default in your terminal:
In VS Code go to settings and set your terminal font family
"terminal.integrated.fontFamily": "CaskaydiaCove NF"In Windows Terminal go to
Settings > Profiles > Defaults > Additional settings > Appearance > Font face -
Type
Get-PoshThemesin the terminal or go to https://ohmyposh.dev/docs/themes to see a preview of all the available themes. Pick your favorite. -
Update your PowerShell Profile so it launches oh-my-posh with your selected theme. Open your profile using the command
code $PROFILE. My profile looks like this:oh-my-posh init pwsh --config "$env:POSH_THEMES_PATH\avian.omp.json" | Invoke-Expression
You may need to restart VS Code/Windows Terminal/Powershell after installing the fonts and updating your profiles.
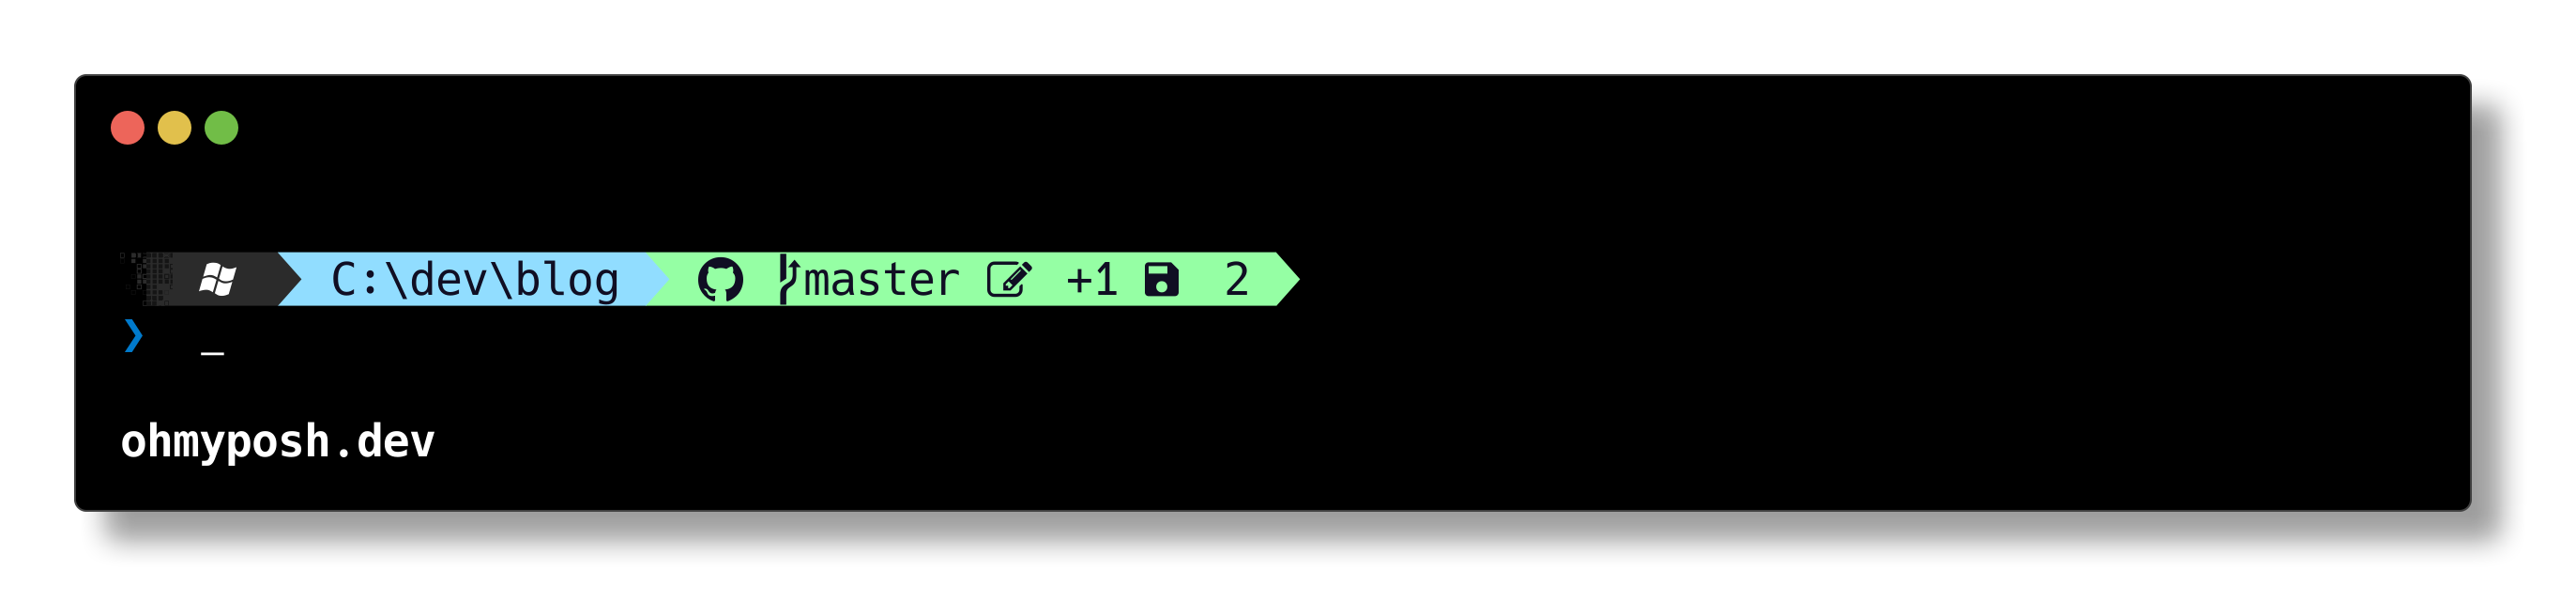
Here is the theme I use, avian.omp.json, which is a customized version of the default powerline + paradox themes: